Friday, March 28, 2025


    Hello. I am still alive.  For the past year I have been making gel plate prints.  Below is a random selection of work.  I have two different gel plates.  One is nine by 12 inches and the other is five by 7 inches. 


Thursday, December 8, 2022

Blog Update

 It's been a long time since I last posted here. Much has happened. Social media has change how I use the world wide web.  My life has changed, most notably with the passing of my wife in 2019.  My art production in the last few years has been mostly limited to life drawings made at Sheboygan Visual Artists' figure drawing sessions which I have been running for something like 15 years.

I have lots of catching up to do if I want to make this blog worthwhile.  I'll think about that possibility.

For now, here is a look at my current work, dented soup cans, painted with Neocolor ll crayons or more recently with oil paints.


 That's all for now.  Happy Holidays!

Monday, November 13, 2017

Fruit and Vegetables

Hello Friends,


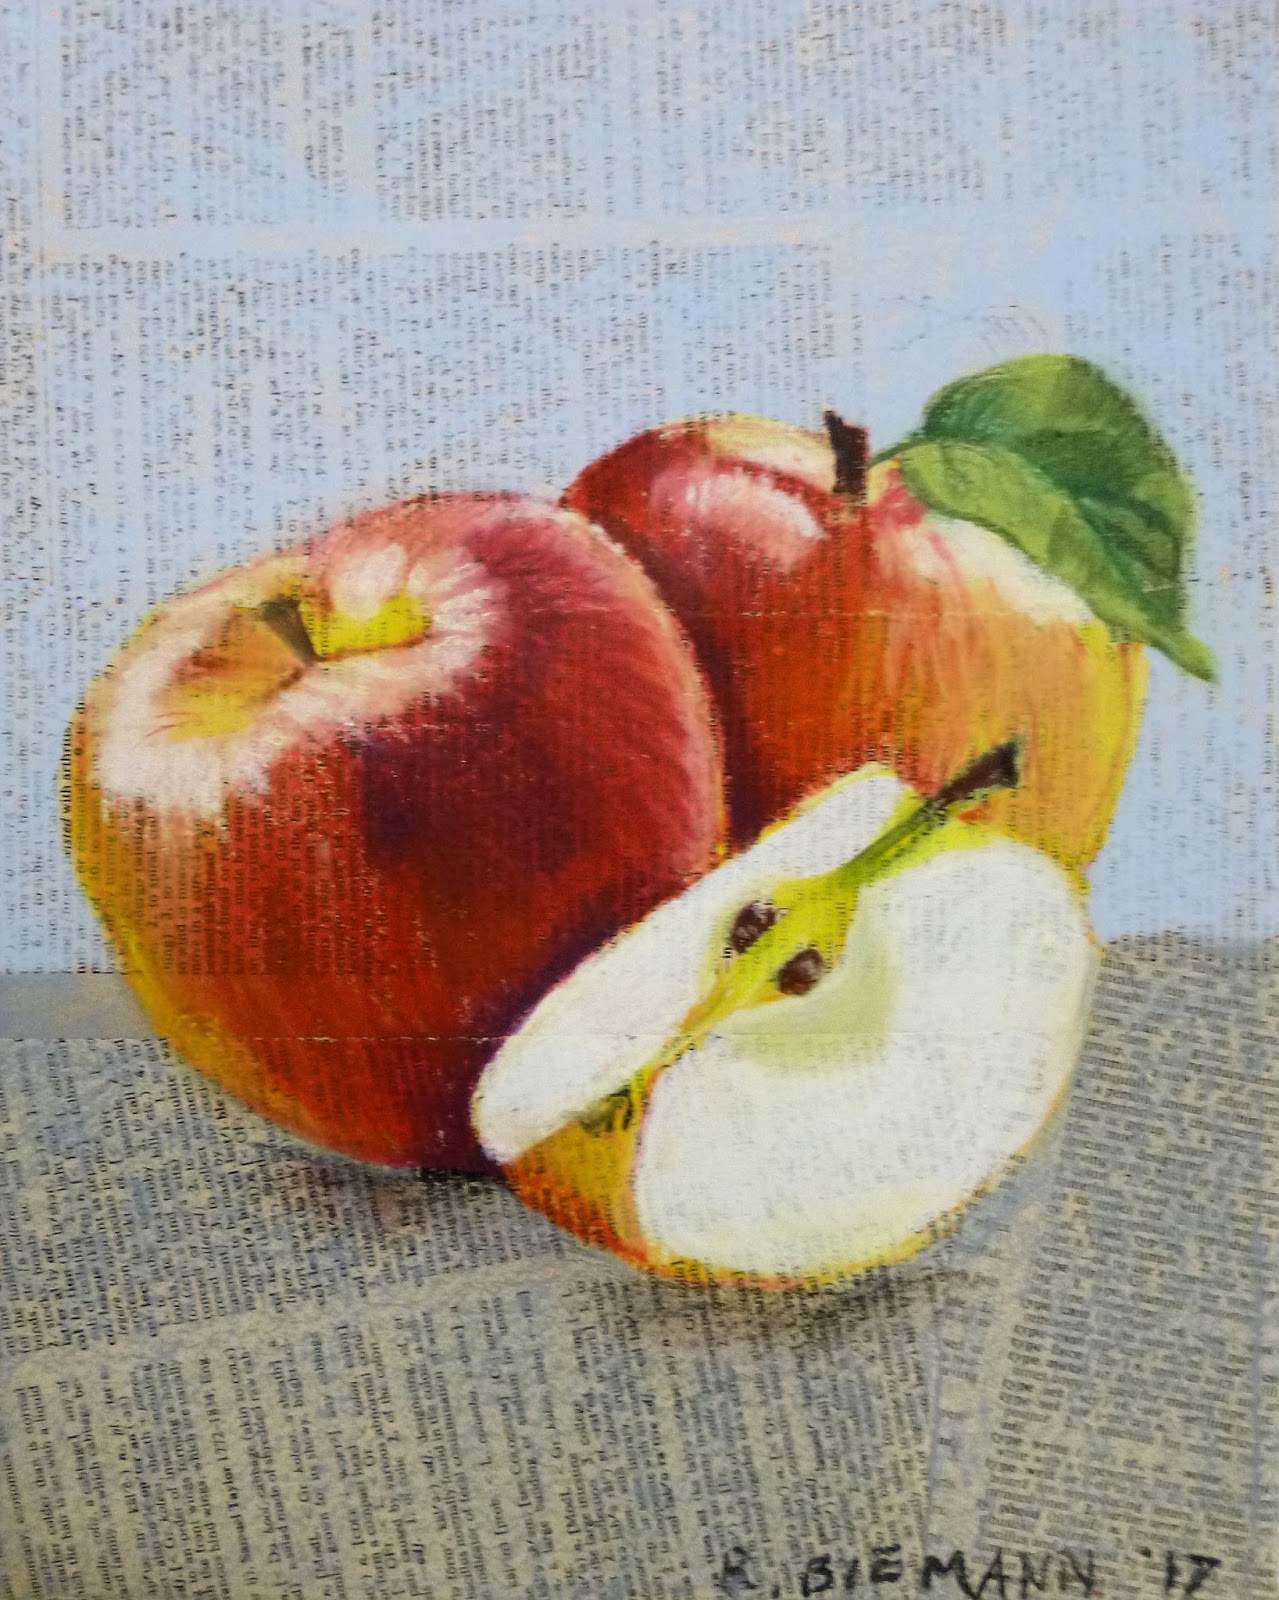
This past summer I created three mixed media pieces for The Sheboygan Visual Artists Small Works Project.  They were a hit!  So I made more, because they were fun and I was confident people would like them and buy them.

They're on old dictionary pages that have been glued to a standard 8x10 stretched canvas.  The painting was made using Caran D'Ache Neocolor II water soluble wax pastels.  They are fixed with SpectraFix and have several coats of UV Archival varnish.  I have not framed them and don't intend to.  I think they would look good in a floater frame...of your choice.

Here are all the pieces I made in this series and their price and availability.


Apples SOLD

Avocado SOLD

Grapefruit  SOLD

Kiwi and Pomegranate $75.00

 Peaches II $75.00

Peas $75.00

Peppers #1 $75.00

Peppers #2 $75.00

Plum II SOLD

Turnips $75.00

Cherries SOLD


Please email me if you are interested in making a purchase.  I don't have an online store or Pay-pal account.  I will get back to you asap.  I will keep track of all emails and first come, first served will apply.  I will only sell these to those who email me at bwlab@yahoo.com.  Please don't call, text or comment saying you'd like to buy one.

I have been commissioned to make some more.  If you want something you don't see, send me your idea and I will contact you.

Thanks for looking.  I hope you enjoy.

Sincerely,
Richard Biemann


Tuesday, February 3, 2015

Multiple Exposures and Topaz Restyle in Corel Paintshop ProX5

In the long interim since my last post I have been busy creating multiple exposure images and exploring a new plugin called Topaz Restyle.  Here I combined both and then took things a step further with Paintshop's glowing edges effect.

The multiple exposure image is created digitally by combining several or many individual shots.  I took 21 pics of this set up.  I liked the light shining through the beer bottles but it didn't translate well to what I had imagined.  The background is too busy and this might work better with one or two bottles instead of three.  At any rate I decided to see what I could get from the photos I made.  The camera was hand held and I intentionally moved so that no two shots were exactly the same.


Using Corel's Paintshop Pro X5 I opened all the images and copied them as individual layers into one image.  I made the base image larger by increasing the canvas size.  This allows me to get an edge effect after I re-position each layer.  That doesn't show up very well here but you'll see it in subsequent posts of trees where I have used the same technique.

To blend the layers in this image I simply adjusted the opacity of each.  The top layer is at 5% and the bottom layer at 100%, with about a 5% step for each layer in-between.  Each layer was also re-positioned and had a levels adjustment applied to it.  This next image also had the Topaz plug-in "Restyle" applied to it.  I wanted to shift the colors and by masking the bottles separated them from the bench and windows in the background.

Again, this really wasn't what I had envisioned so I  played with it some more.  Trying several effects I chose glowing edges and cropped in and darkened or painted out some of the distracting bits.


Monday, January 27, 2014

Photo Processing Then and Now

In 1989 I moved from Milwaukee to Sheboygan Falls and began my professional photography career.  I got a job at Central Photo, now NZ's Bar, on Michigan Avenue in Sheboygan.  I had had a darkroom in my parent's basement that I'd been using since my high school days.  Now I was getting paid to do what had once been a hobby.  I've done mostly black and white film processing and printing while working there and at the Motophoto which became Light House Photographic Lab.

As film photography was supplanted by digital imaging, the demand for the work I did dropped to nearly nothing.  I occasionally shoot black and white film, but I do most of my work digitally these days.  I have a few customers that I print custom black and white enlargements for, but it no longer is enough business to pay the bills.   Digital has pushed film photography into a corner, a niche that especially for b&w can be loosely termed "art photography".  

I'm ok with that.  My art photography has grown as my ability has increased.  But it has also changed as I have gradually shifted to more digital imaging.  Finding new methods and exploring untried options keeps it all interesting for me.

Some things haven't changed.  A photographer will always need to understand lighting, composition, color, contrast, and presentation.  Tomorrow I will be teaching a workshop on how to photograph artwork and I have been reflecting on one thought recently.  It was true in the days of film photography and is true today. The average snapshot taker and even some advanced amateur photographers do not realize that the click of the camera does not end the making of the photograph.  Whether the image will be seen as a print or only on a screen, there are many variables that should be controlled by the photographer in order to make that image a "good" one.

As an example, here is a photograph I took yesterday.  My camera has automatic focus and exposure capabilities as well as many programmable settings.  I generally get decent results when adjusting it for the situation I'm in and the result I want.  But hardly ever do I look at a digital image right off my memory card and leave it untouched.
Not bad at all, I'd say.  But for me this is just the starting point.  I did several corrections to it, digitally.  If I had shot film, the technician would have made decisions regarding contrast, density, and color, and perhaps even cropping.

Here is my revised image.


The differences should be obvious.  While a blue color cast is generally accepted for a snow scene, I wanted to take it out.  I cropped the image a bit, and adjusted the density and contrast to bring out some detail on the coat.  I took some control over this image with settings on my camera.  But I took full control over it by decisions I made while editing it.  The software I used was Photoshop Elements 12.  


So, the point I want to make is this.  A person makes a photograph.  Obviously a camera is an essential tool, but the choices made by the photographer or the person printing the pictures at the local minilab are critical to determining the quality of the final picture.  

When I hear people complain about their photos, no matter if they blame their own skill, the camera, or the store that printed them, I think to myself that they know the picture should be better but don't know how to work their camera or are too accepting of poor processing.

Knowledge is Power!

Wednesday, September 25, 2013

I helped my friend Agata create her blog today.  Please take a look at Agata's Art blog.

Sunday, September 1, 2013

Tomato Photo Recipe

Here are the steps, (not in order) that I did to create the finished photo.

Before:  As shot with my Sony A 200, underexposed by one f-stop.


After:

  • Straighten
  • Crop
  • Adjust levels and color
  • Adjust sharpness
  • Apply Corel's "Early Color" photo effect
  • Reduce saturation of parts of the background and foreground
  • Fill bottom right corner using clone tool
  • Apply Corel's "Albumen Photo Frame" effect
  • Clean up a few distracting spots
It's not a lot of steps but it took a fairly long time because I try out several degrees of adjustment each step of the way.  
I'm planning on creating some cards from some of my shots.  This one is a candidate, no doubt.  I'm very pleased with how it turned out, and will post it on my Flickr page in the Corel group as well.


Thursday, May 2, 2013

Worldwide Pinhole Day 2013

Each year, the last Sunday in April is Worldwide Pinhole Day.  This year I built a body cap pinhole for my Sony Alpha 200.  Here is my entry for 2013.  More can be seen at http://www.pinholeday.org/


Tuesday, February 12, 2013

My driveway thought it had the better of me.

Oh cunning driveway,
How you vex me with ice and snow.
This February winter woe!


You sought to clothe yourself
With sheets slippery and smooth.
Now, look what I've done to you.


A pinch  of salt,
A warmer breeze and sun,
With my chopper, I'm nearly done.


Wednesday, October 3, 2012

TTV: How to get from A to B

Here is the raw shot taken with my Sony A200 through the viewfinder of a Kodak Duaflex II.


The steps taken in Photoshop CS 6:
1. Straighten.  2. Crop.  3. Sharpen all. 4. Adjust highlights, shadows and levels.  5 Soften background.  6. Partially desaturate background.  7. Partially color background. 8. Save.

The final product, Autumnal Shout.  

I wanted to emphasize the bold color of potted flowers and the slight levels adjustment got me the look I wanted for the plant.  The column needed some highlight adjustment to bring out some detail.  I softened the background and desaurated it to take the color down a bit.  The highlights, especially on the right, were too blue I thought. So, I painted a light brown tone on the almost all of the background. I think it makes the purple shadows in the column stand out a bit better.


This is one I'll likely print and frame to sell.  I included it in my SVA portfolio.

I added quite a few shots to the Garden set on my Flickr page.
http://www.flickr.com/photos/bwlab/sets/72157630067031239/

Monday, September 24, 2012

Photoshop CS6

I downloaded a 30 trial of Photoshop CS6.  So far it's going ok.  Always a bit of a learning curve to overcome.  Time will tell if I purchase or not.  I made an animated gif file let's see if it works in my blog.


Tuesday, September 4, 2012

Several ways to take 3D photos.

Years ago my wife bought me a Loreo 3D film camera.  It came with a viewer to use with 4x6 prints.  I used it a bit and it's more or less packed away.   I made a pinhole 3D camera for 4x5 sheet film and played with that a bit as well.   In the digital age I've been making 3D shots doing what one photographer calls the "Cha-Cha".  You take two pictures inches apart and process them for viewing side by side.  Here are some examples.
This is a parallel view.  You need a special viewer to see the 3D effect correctly.
The second picture is a crossview.  To see in 3D cross your eyes and merge the two sides.  The bike photo was done with a recently purchased Loreo product that attaches to a film or digital SLR.

This picture was made with my pinhole 3D film camera.  It requires processing and printing the film and then scanning to create a file to share here.
All of the above were made with one exposure.


The shot of the frog sculpture was a "cha cha", made by combining two shots into one image.  The drawback of this method is that you don't get good shots of anything moving.

The Loreo camera.

The Loreo lens.

Saturday, September 1, 2012

Summer Daze

Slow computer, headache, tired but I still tried to find some time to be creative.  Just a different angle on a TTV shot.  No special manipulations.  I just rotated it for the horizon.

Friday, August 31, 2012

Wednesday, July 25, 2012

Made my first GIF animation in preparation for a GIF file of an SVA member's artwork.

Not much to this but I did figure out how to do it using Gimp.

Friday, May 25, 2012

Nice light today.

So, I went out around 4:00 p.m. and shot some new TTV pics.  Here are the best of the shoot.
I revisited the rack that Lisa found last year.  Still no plants on it.


These are candidates for more manipulation.


Typically, I ventured no further than the park and my yard.  Someday I'll bravely go out into society. lol


All were taken with the Sony Alpha 200 through the Kodak Duaflex II and edited in Corel Paintshop Photo Pro X3.